
Step 1 of Making a Center Pull Skein

This step is super easy and very critical. The first step is to locate the tail end of the yarn. This is not the working end of the yarn that is already coming out of the center of the skein. Instead it is the end that is on the outside of the skein and if pulled the yarn will skitter around the floor.
The reason this step is so critical is that your skein will tangle to the point of you wanting to pull your hair out if you don’t. Therefore, find that tail and know where it is at all times. It is a sneaky little devil and will try to cause mischief if you don’t.
STEP 2

In the above picture I tucked the tail in under the belly band. This will help it stay out of the way.
STEP 3

First, find the working end of the yarn. Place that end in your palm and pinch it between your thumb and side of your index finger. Second, be like Spock and make the “Live Long and Prosper” hand gesture from Star Trek. You can see my fingers starting to separate in this picture.
Step 4


Third, begin winding the yarn in a figure 8 fashion around the lower two fingers and then the upper two fingers. Continue doing this until you have a nice hunk of yarn on your fingers. You may find that making a center pull skein becomes quite calming.
Step 5

Once you have sufficient yarn on your fingers, drop the yarn in your left hand so that you can pinch the “X” between your fingers. Pull the yarn off of your fingers.
Step 6

Finally, to complete the center of your center pull skein, fold the figure 8 in half while holding your thumb, index finger and middle finger in a tripod grasp around it.
Step 7


Being wrapping the yarn around your fingers which are grasping the center of the skein you are making. This ensures that there is space and room for the yarn to move when you start to pull it out. If you wind the yarn without using your fingers as spacers it will be difficult to pull the yarn out and it will come out as a very large yarn barf.
Step 8

Next, begin making an X with your wraps. Wrap 10-20 times in one direction then 10-20 times in the opposite direction.
Step 9

You are almost done making a center pull yarn!
First you want to rotate the ball about a quarter of a turn until you see the empty spot where there is no “X”. Second, you want to begin making a new X in that spot.
Continue to rotate and make new Xs until you are almost out of yarn. I like to finish with just wrapping around the side of the ball like it has rings of a planet. No particular reason why, I just do.
Step 10

The last step in making a center pull skein is to tuck in the end around the last wraps.
TA DA!!! You learned all the steps in making a center pull skein!
This skein was not attached to a project. I often do rewind skeins that are in use. The same process is used.
Here is a video showing all of the steps in action.
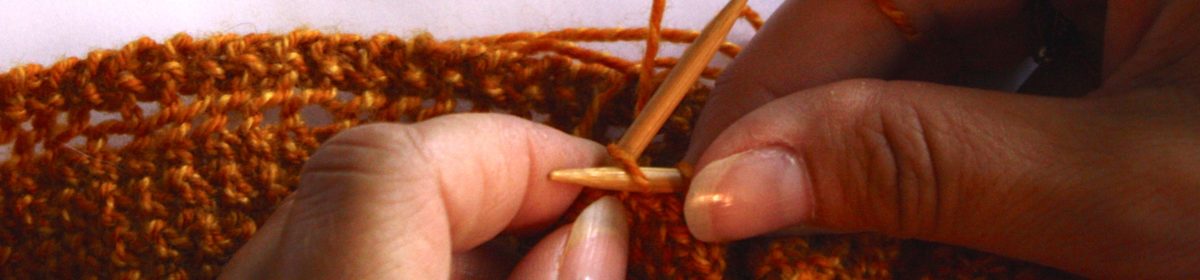
I also found this blog post to share from the Lion Brand Yarn site. Here they teach you how to wind your yarn over a knitting needle.
Extras
If you need to know how to start a commercially made center pull skein see my blog post here: http://www.thelefthandedknitter.com/2020/05/27/starting-a-skein-of-yarn/
Here is another method to wind a skein using a knitting needle. http://blog.lionbrand.com/keep-yarn-organized-learn-how-to-wind-a-center-pull-ball-by-hand/
I wanted to scribe to your site so I did but then started to get some news site which I had no interest what so ever. I unscribed from your site. My question is do you have to have the news site to being to your blog? Thanks