Blog

Flexiflips a left handed review

Disclaimer:

This is an independent review of Flexiflips.  I am not receiving any compensation from the manufacturer or any distributor.

I love to knit with sock weight yarn, whether the project is socks, a scarf, or fingerless gloves. They are an easy portable, take anywhere project.  I have a lot of size 0 wooden double pointed needles to accommodate.  Let’s face it, one set would never be enough because that would require monogamy in knitting.  Say, what?!?  Yeah, doesn’t happen too much with this knitter.  Over the years I have honed in on my favorite small needle knitting method: five double points, and my favorite type of needle which are wood with a length of five inches.  Brand doesn’t matter to me.  Oh, I have tried magic loop, four double points and 2 circulars, but I keep coming back to my five double points.

I saw these flexiflips by Skacel and liked the marriage of the methods of double points with two circular needles.  I bought them and was excited to give them a go.

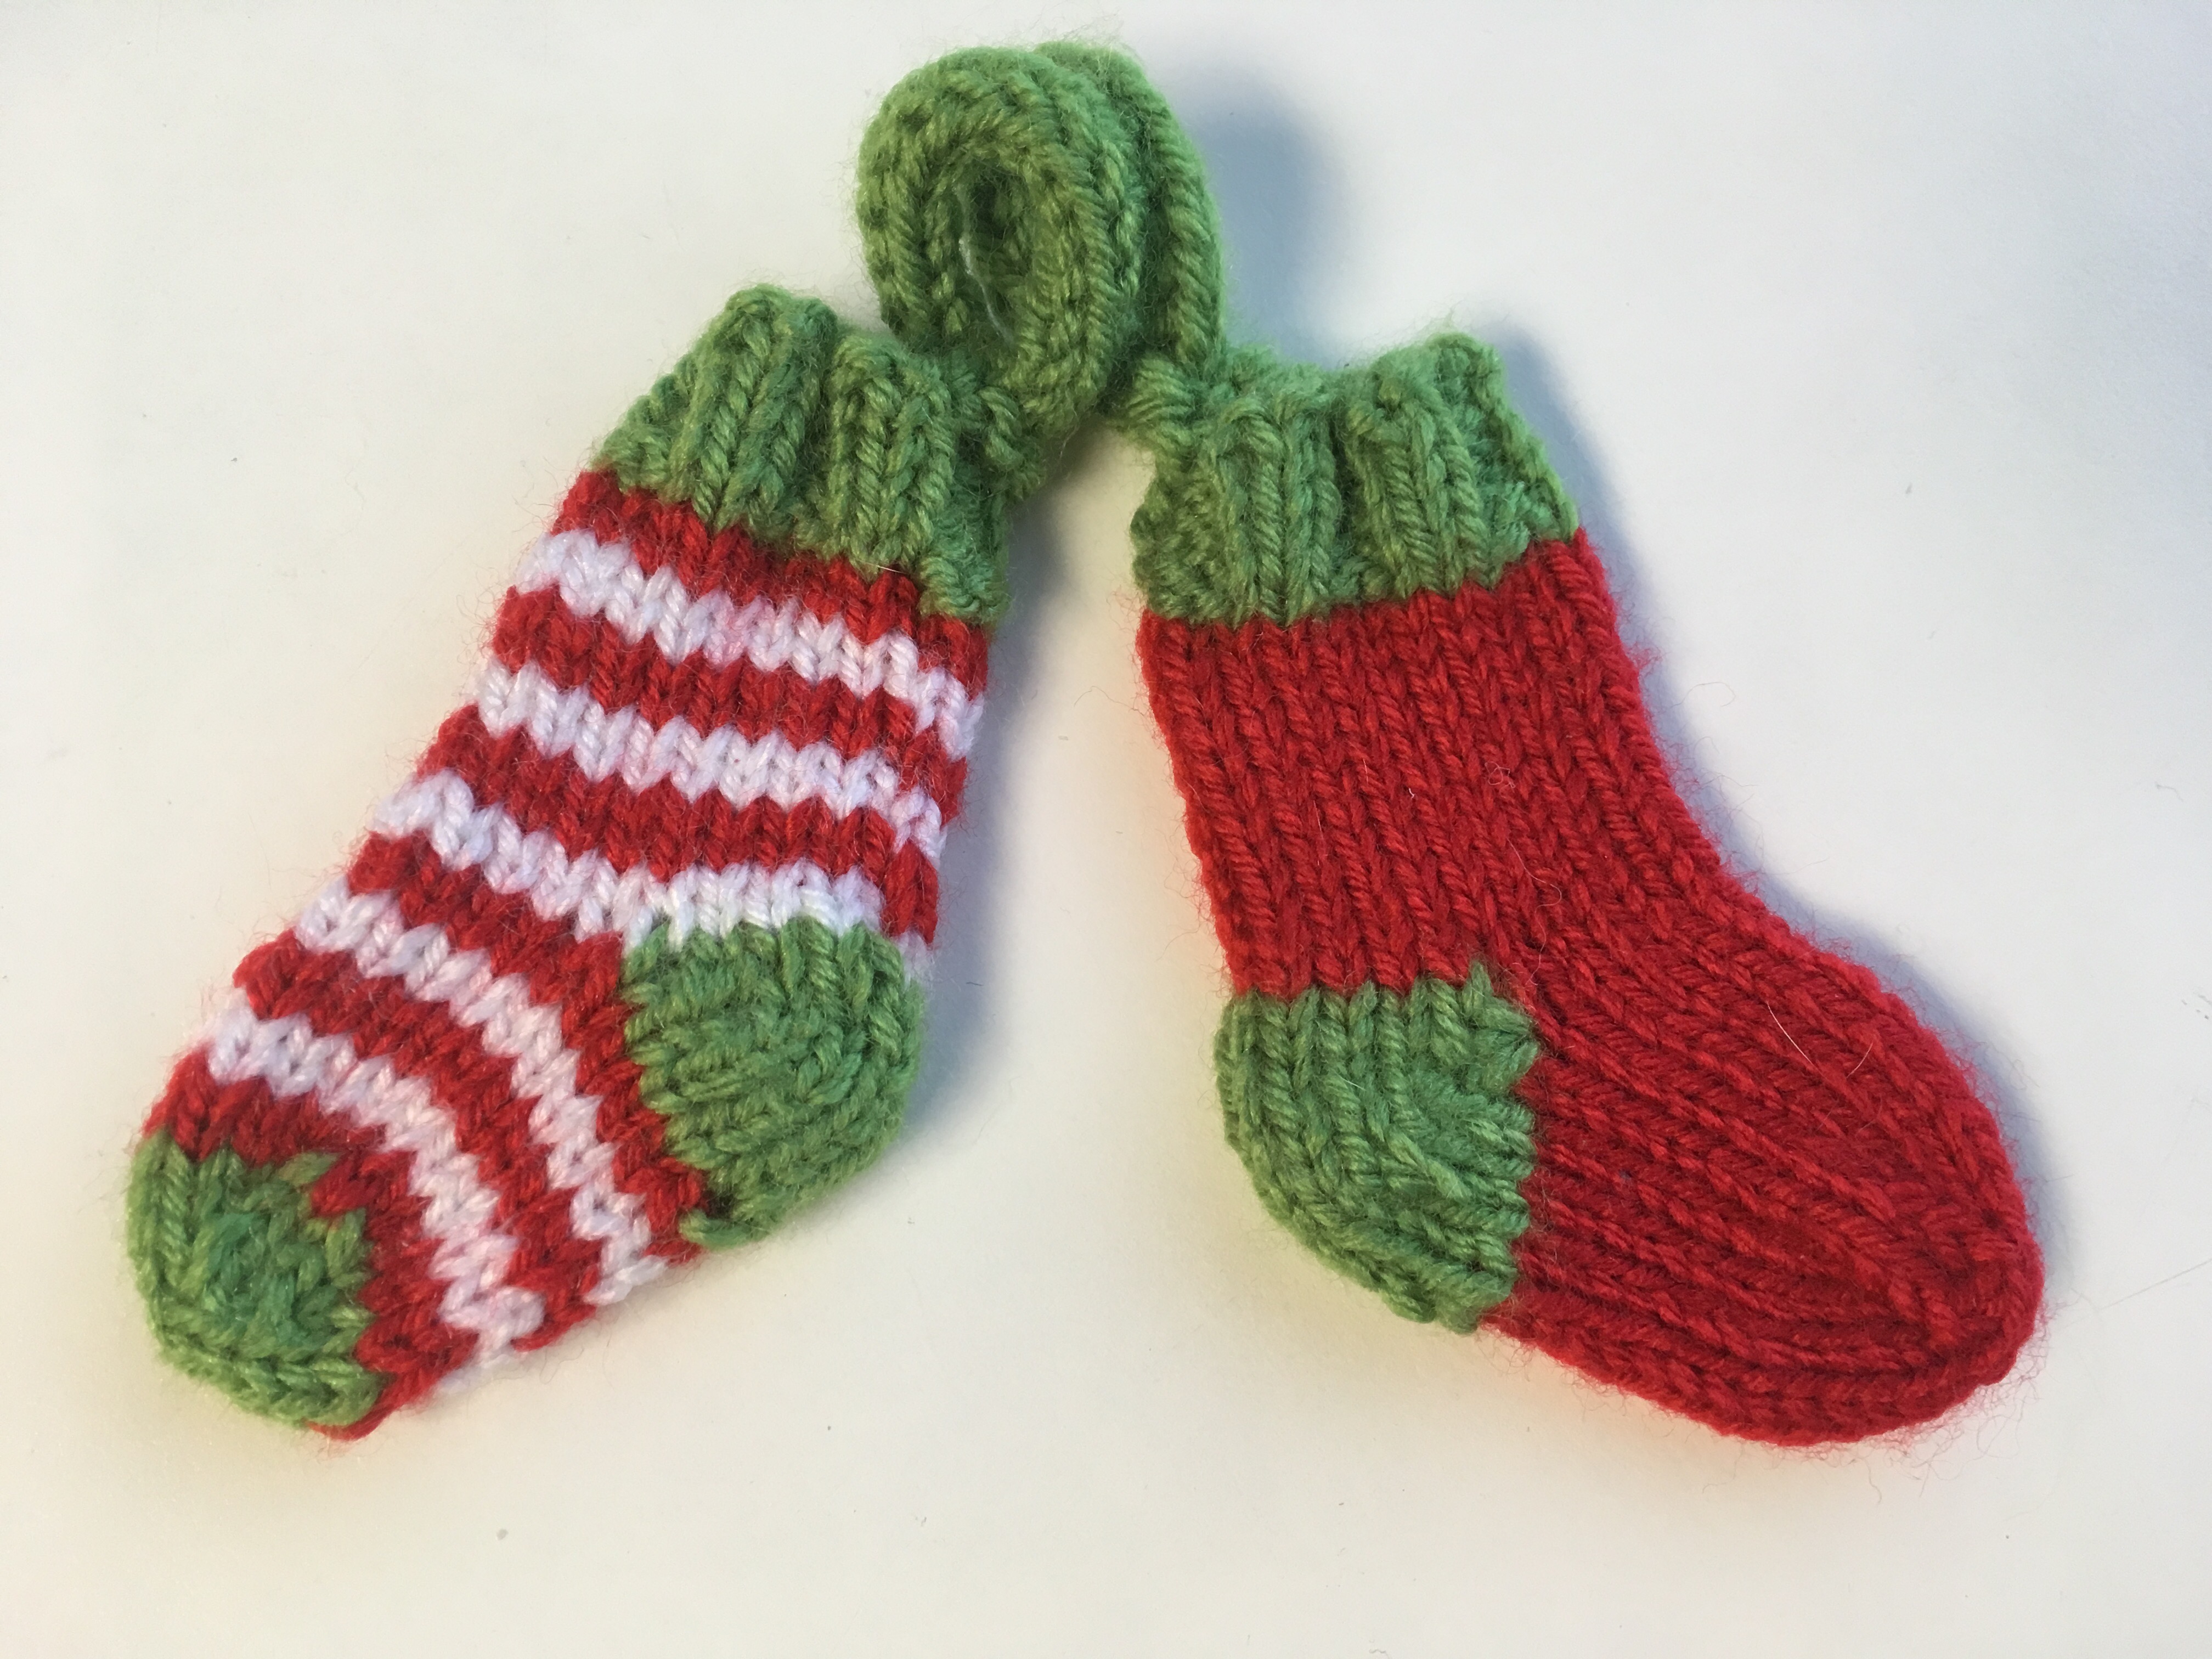
My friend and former co-worker gave me this kit to make these fingerless gloves quite some time ago.  I thought this would be the perfect project to try the new Flexiflips.  I managed to stay monogamous with this project, which is a huge feat for me!

First, the Flexiflips are shipped in a plastic tube with a cap.  This tube then doubles as storage when the needle are not in use.

Tips: **** 4/5 rating

I like that at least one end is the rocket tip, which is the sharper end.  The other is the turbo end.  Fold the needle in half to compare the two tips to determine which is the turbo end and which is the rocket end.  The longer tapered one is the rocket end. I gave these a 4/5 because I would prefer to have just the rocket end and at the very least to have one end marked to quickly identify the ends.

Join: *** 3/5 rating

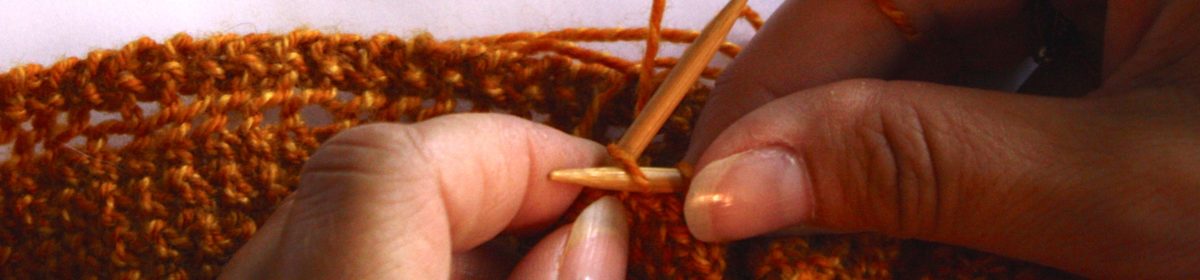
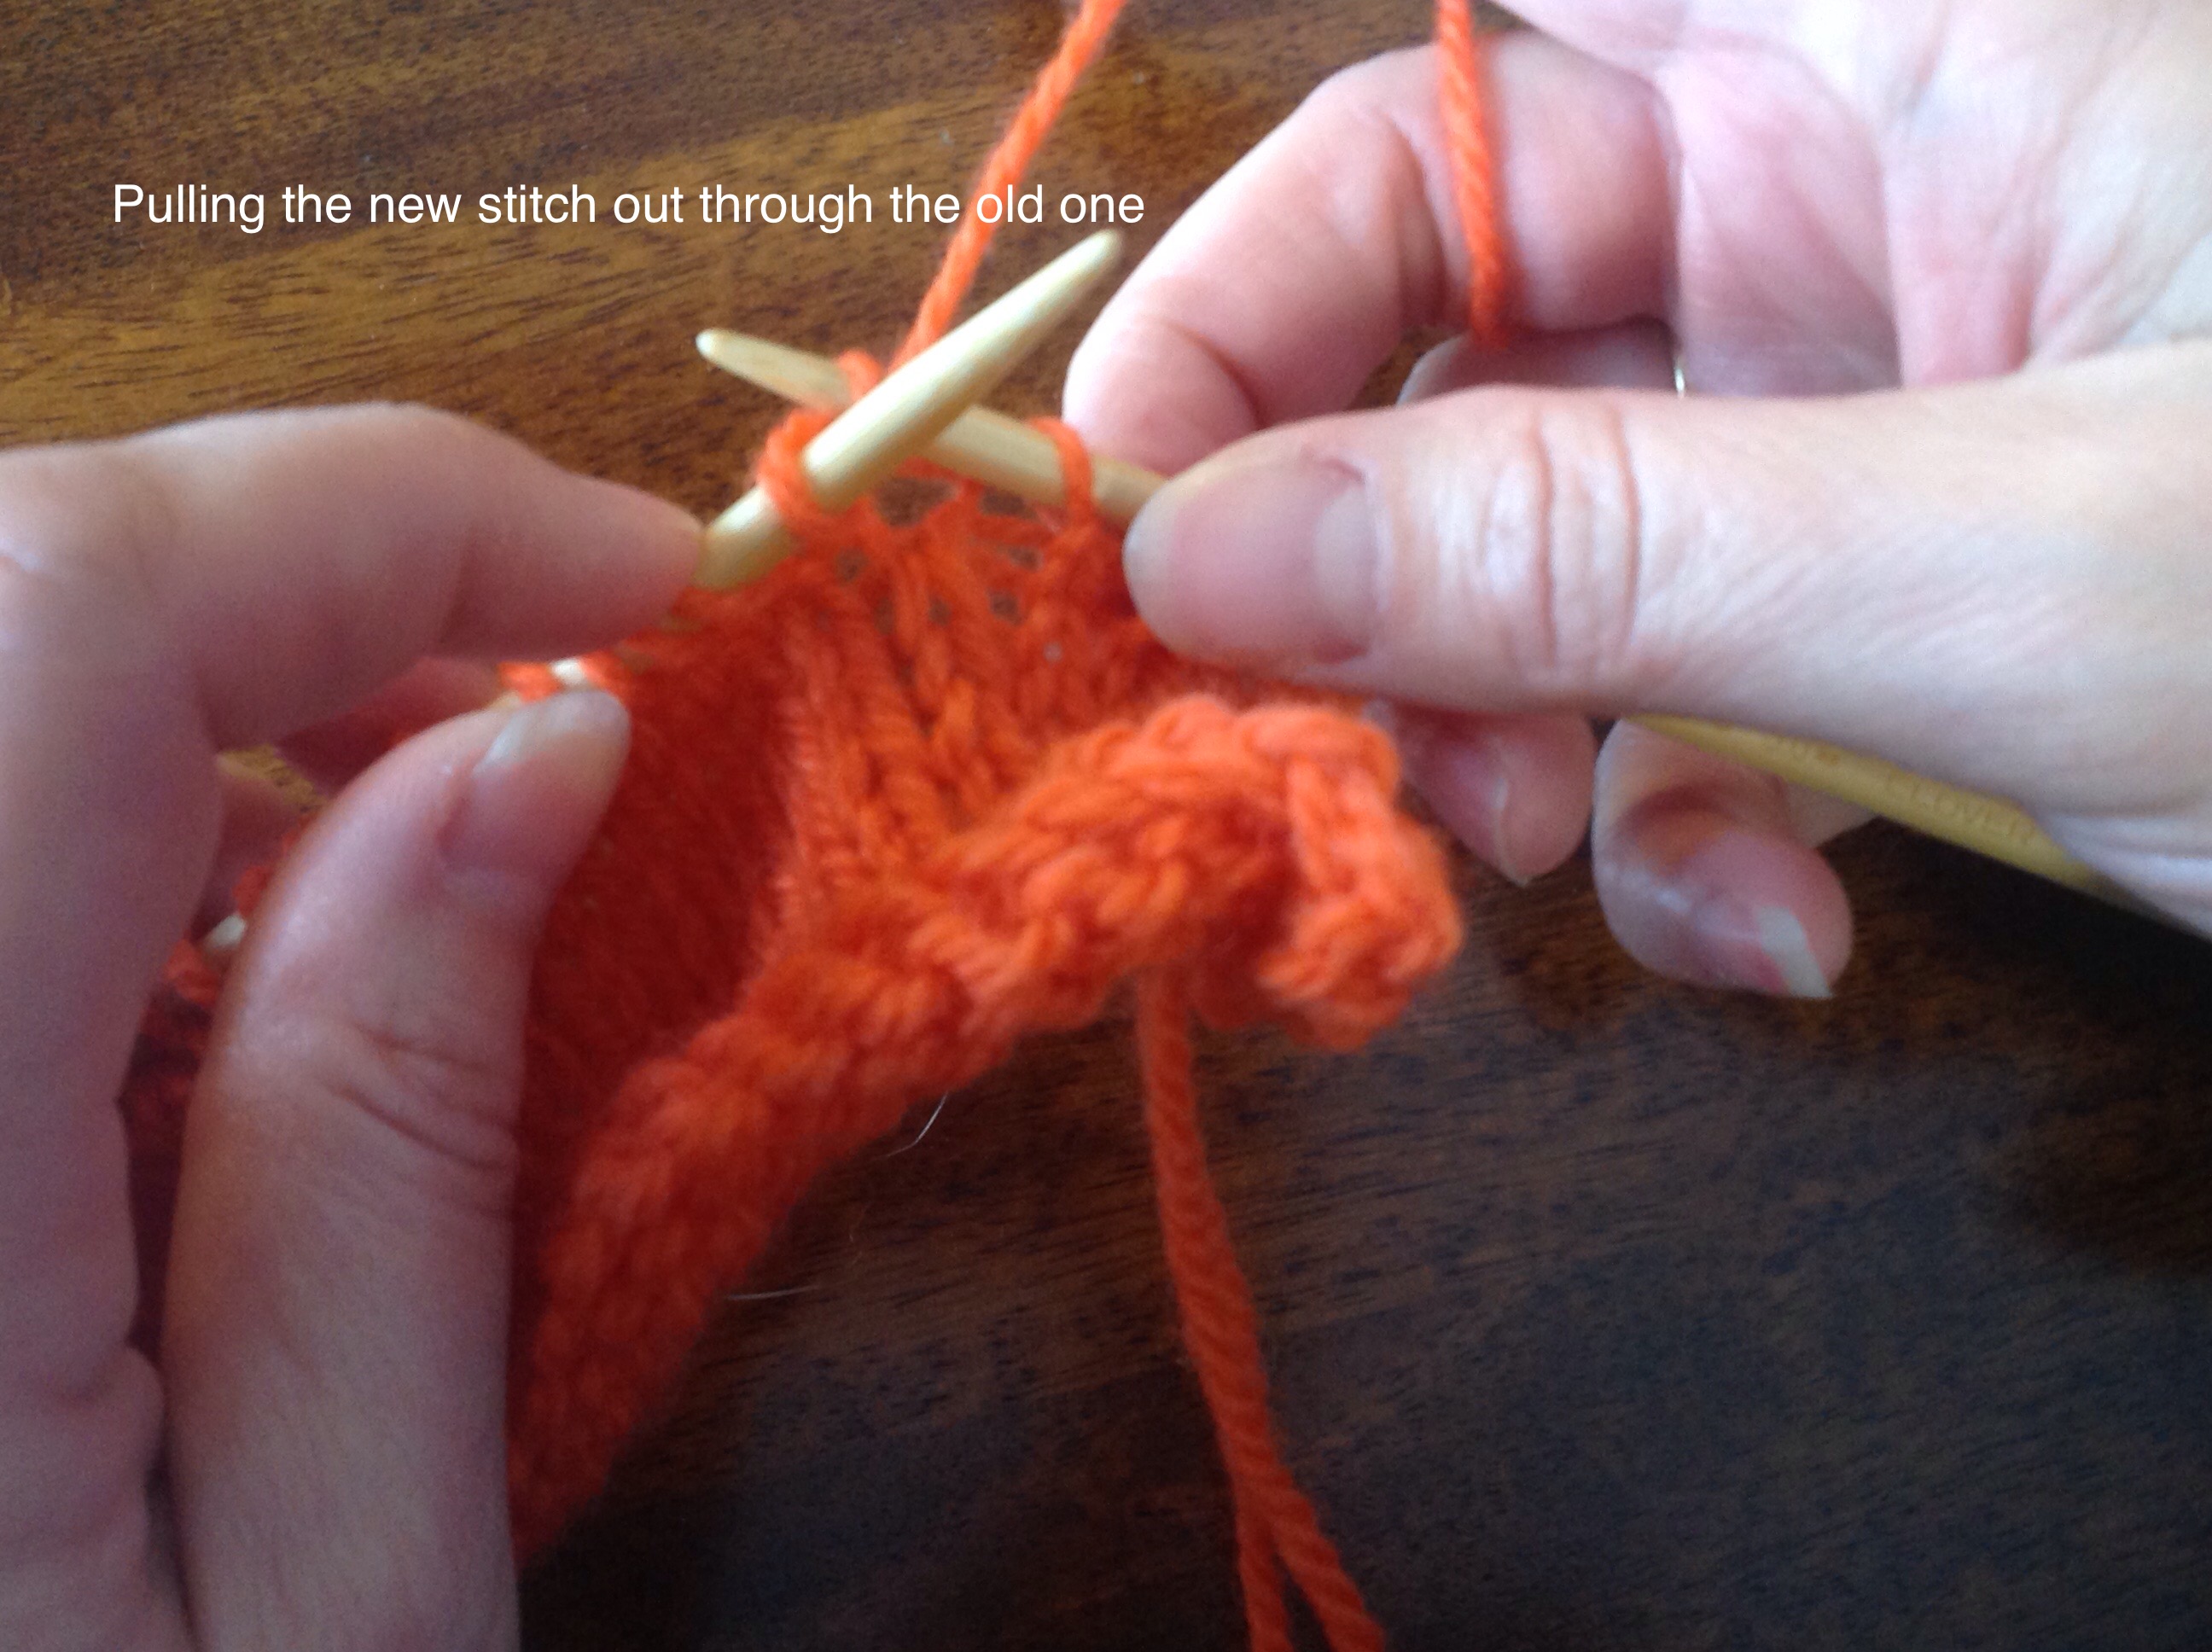
The join between the cord and the needle did not impress me.  The join kept snagging my knitting as I moved my work towards the tip.  This seemed more prominent when I first began to work with the needles, but was present throughout my knitting.

Cord: ** 2/5 rating

I really like the concept of basically doing 2 circular knitting with three needles.  What I really found frustrating was that the flexible cord was only an inch long.  I felt this was way to short.  Another inch or inch and a half would have been perfect.  The unworked needles would not stay out of my way and kept poking me.  I also found that I developed ladders in my work which I do not get with five double point needles.

Needle: *** 3/5 rating

I have man-hands.  I found the 3.5 inch needle length too short for my extra large woman hands.

Portability: * 1/5 rating

I have DPN holders that I use to keep my needle tips safe and protect my knitting from falling off the needles.  My absolute favorite is the hand made one I bought from Knitzi. Flexiflips do not fit in my DPN holders.

Overall impression: 2.5/5

These needles are a good bet for you if you are looking for something fun and new to try or for a gift for the knitter in your life and don’t mind spending a little money.  Personally, I had too many issues with them to be too excited about them.  I am happy I did buy them though, I did get a chance to try something new and that is always fun.  In the end, however, I will return to my wood five double point needles and my happy place.

Have you bought them yet?  Leave a comment below and tell me what you think.

Left Handed Western Mount Knitting

The way we learn how to do a skill tends to be our preferred method.  I learned how to knit using the eastern uncrossed method and hence, this website is dedicated to knitting this way.  Most lefties, however, learn how to knit using the left handed western mount knitting.  Another lefty on Ravelry chastised me when I presented this website to the community as a resource.  She felt I would only confuse people since I only presented my way of knitting.  Because of this she did not think I should advertise and promote my website as a resource.

I have more faith in my fellow lefties and their smartness than she does.  If someone comes to this website and sees it isn’t the way they knit then they will move on and find another website that suits their needs.  I have had enough inquiries about different aspects of left handed knitting to know that my website is a useful website.  In addition, I have successfully assisted lefties who knit using the western mount.

Today’s post then is first, my acknowledgement that two ways to produce the knit stitch exist.  Second, that I knit the more unorthodox way and third , this website is geared towards the way I knit.

Western Mount Knitting

So, What is the difference?

Two differences exist:  which leg is the leading leg and the way the yarn wraps around the needle.   The next question, then, “Which one should I use?”  This is purely a matter of preference.  Both styles will produce the same result in the end.

In eastern uncrossed (the way I knit) the leading leg is in the back of the needle and you wrap the yarn clockwise as if the needle is pointing right at your face.

In western knitting the leading leg is in the front and you wrap your yarn counter clockwise.

Western mount knitting

You can see in this photo that I am about to start the next stitch.  I am going to insert my left needle from the right side of the stitch.

Western mount knitting


Here my needle is in the stitch and I am ready to wrap.

Left handed western mount knitting

Wrapping the yarn counter clockwise.  Then finish the stitch.

That’s all. You have now knitted using western mount.  This mimics how right handed knitter make the knit stitch.

Left handed western mount knitting

Here is the purl stitch.  Purl into the leg closest to you and wrap your yarn clockwise.

To recap:

Style                    Leading leg                         Direction of wrap

eastern                               In the back             Clockwise

western.                           In the front              Counter cw

Here’s a short video showing left handed western knitting.   Left handed Western Knitting

I hope this helps you have a better understanding of knitting and knowing that there is no right or wrong method to knitting.


Mini Sock Ornaments


Mini Sock Ornaments

You can never have too many ornaments on a Christmas tree, especially hand made ones.  Last Christmas my mother-in-law showed me a garland of mini socks ornaments. She bought them for a dollar at the thrift store.  It was really cute!  I thought, I can make these mini socks.  I love to knit socks! So, after many edits and rewrites, here is my pattern.

I am not fond of weaving in or any kind of finishing so I wrote this pattern to have as minimal finishing work.  When working in more than one color, carry the strands throughout.  since it is not being worn by an actual foot you need not worry about the floats and bulk that is created on the inside of the sock.

Please click on the link below to access the pattern.

mini sock ornament

You may also access the pattern HERE on Ravelry.

mini sock ornaments

Left Handed Short Rows

Short rows
Left Handed short rows

Short rows confounded me for years.  I found the process very daunting and avoided any pattern that used short rows.  I couldn’t find a good tutorial to help me demystify this very easy process.  Hopefully, you will find left handed short rows easy and straight forward with this picture tutorial.

So what are left handed short rows?  Short rows are a process of adding a pocket or wedge of fabric to your piece without adding length.  On the first two rows you knit to two stitches before the end of the row and then complete the left handed short row.  On all subsequent  rows you knit to the stitch before the previous short row thus each row becomes shorter and shorter.  When all short rows are completed then you knit across picking up all of the wraps and knitting them with the stitch they were wrapped around.

Continue reading “Left Handed Short Rows”

Left handed knit front and back (kfb)- A picture tutorial

Today let’s look at the very simple and very easy, left handed knit front and back (kfb).   It is an increase that is great for beginner knitters as it does not have directionality like the M1L and the M1R.  Another difference is that the kfb is made in a stitch where as the M1L and the M1R are made between stitches.  This is an important concept to know if you are substituting one increase for another in a pattern (I confess, I do that a lot).  I will explain further at the end of this post.

First, let’s look at when it is a good time to use the left handed knit front and back (kfb).  I typically do not use this increase unless I am working on a project that is inconsequential or where the increase is not part of the overall look of the finished fabric.  In addition, I will use it in a garter stitch pattern or in a ribbing pattern.  The increase blends into the fabric and does not stand out.  The kfb creates a purl bump so that is why it is good for garter stitch or ribbing. Continue reading “Left handed knit front and back (kfb)- A picture tutorial”

Left handed M1R increase (make 1 right)

The left handed M1R increase (make 1 right) is very similar in execution to the M1L increase.  The two differences with the M1R increase are that the initial movement of the stitch is performed with the tip of the right hand needle instead of the tip of the left hand needle and the leg in which your left hand needle is inserted into to make the stitch.   As you can imagine these simple changes accounts for the different slant of the increase.

Step 1 of the Left Handed M1R increase

(Click on any image to enlarge)
make 1 right-finding the bar that will be used as the increase

The first step is to locate the bar that runs horizontally between the two stitches that will have the increase.  It is easy to find this bar if you pull the  two needles slightly apart.

Step 2

Left handed M1R increase

Next, using the tip of your RIGHT needle, insert the needle from front to back into the horizontal bar.

Step 3

Left handed M1R increase

Then, from here on out the rest is just like making a normal knit stitch.  The above photo shows, “In through the back door”.

Step 4

Left handed M1R increase

Next you will yarn over or “around the back”.

Step 5

Left Handed M1R increase


Finally, “out through the window and off jumps Jack!”

The Left Handed M1R Increase completed

Left Handed M1R increase

In the above photo you can see the left handed M1R increase with the slant leaning to the right.  Also in the photo you can see a right leaning decrease (k2tog) left over from a previous post.

To recap:  The left leaning increase is made using the tip of the left needle and inserting the needle from front to back, then making the stitch by inserting the needle from right to left in the back leg (the leg closest to you).

The right leaning increase is made using the tip of the right needle and also inserting the needle from front to back, but then making the stitch by inserting the needle into the leading leg as with any knit stitch.

I hope you have enjoyed this brief tutorial.  Please leave a comment below.  If you have any questions, you can also leave those in the comments and I will get back to you shortly.

As always, if you have ideas for future posts feel free to leave me a comment below or send an email.

Happy Knitting!

-Karen Lynn

Left Handed m1L increase (make 1 increase)

Unlike decreases, there are multiple ways to make increases in knitting. Just like the decreases, the increases have directionality and become part of the look of the final piece.  Since there is directionality there are two separate increases.  Today we will look at the left handed m1L increase otherwise known as make 1 left increase.  In the next post we will look at the left handed m1L increase’s counterpart, the m1R.

(Click on any picture to enlarge)
Left handed m1L increase

When creating an increase, in this case, the left handed m1, you will be putting an increase inbetween two stitches and you will be using the bar that runs horizontally between the two stitches.

Continue reading “Left Handed m1L increase (make 1 increase)”

Reading Knitting Charts – Left Handed Knitting


I want to take a break today from increases and decreases to show you how to read a knitting chart.  Reading knitting charts is so much easier than written directions.  I prefer a chart 100 times more than written directions for two reasons.  First, I am a visual learner so I find it quite easy to look at my work and then look at the pattern and see if they match. If my work doesn’t look like the pattern then I know I have made an error.  Also, I find it cumbersome to try and follow along when there are lengthy written directions.  I easily become lost and become frustrated because I spend more time trying to figure out where I am in the pattern than I do knitting.  Second, as a lefty I can read the chart left to right and I do not have to change anything! Continue reading “Reading Knitting Charts – Left Handed Knitting”

The Left Handed Central Double Decrease (ccd)


The Left handed central double decrease, abbreviated cdd, is a decrease of two stitches.  It is most often used at the points of leaves.  It is a wonderful stitch to know as it makes the points of the leaves look professional.  The reason it looks so beautiful is that the left and right stitch hide behind the middle stitch showing a continuity of the middle stitch from the rows below.  I found this stitch tricky because all the tutorials I found were for right handed knitter, not left handed knitters.  Have no fear, I spent way too much time figuring this out for myself and I gladly share it here with you today.

I warn you this is a multistep stitch, but well worth the time and effort.

If you know knitting terms here are the steps.  If you are unsure about the steps, please follow along below with a picture tutorial and short video at the end.

Slip first stitch as if to purl, slip second stitch as if to purl, put both stitches back on the right hand needle and slip together through the back loops.  Knit the third stitch.  Pass the first and second stitch together over the knit stitch. Continue reading “The Left Handed Central Double Decrease (ccd)”